The first time I tried how to make cracklins, I treated the pot like a deep fryer and walked away. That was a mistake. The fat foamed, the pieces stuck together, and the outside browned before the skin had turned properly crisp. Cracklins are not difficult, but they reward patience more than brute heat. You need pork skin with a little fat attached, a heavy pot, steady temperature, and enough time for moisture to leave before the final crunch develops.
These are the Southern-style pork cracklins I make at home, scaled for a Saturday afternoon instead of a restaurant kitchen. They are salty, crisp, and rich, with little chewy spots where the remaining pork fat caramelizes. Serve them warm with cold beer, chop them over beans, or put a bowl on the table while football is on. June and Sam usually hover near the stove waiting for the first batch, though I make them wait until the pieces have cooled enough not to burn a mouth.
What you need before you start
For about four cups of cracklins, use 2 pounds of pork skin with a quarter-inch to half-inch layer of fat attached. Skin from pork belly works well, and skin trimmed from a shoulder or whole hog is fine too. Completely bare skin can turn hard and brittle, while thick sections of fat can take much longer to render. Aim for pieces that include both.
You will also need 1 tablespoon of kosher salt to start, with more for finishing, plus black pepper. A half teaspoon of garlic powder, a pinch of cayenne, or a little smoked paprika is good after frying. Do not add sugar before cooking; it burns long before the pork gets crisp. Use a 5- or 6-quart Dutch oven or heavy stainless pot, long tongs, a slotted spoon, and a sheet pan lined with paper towels.
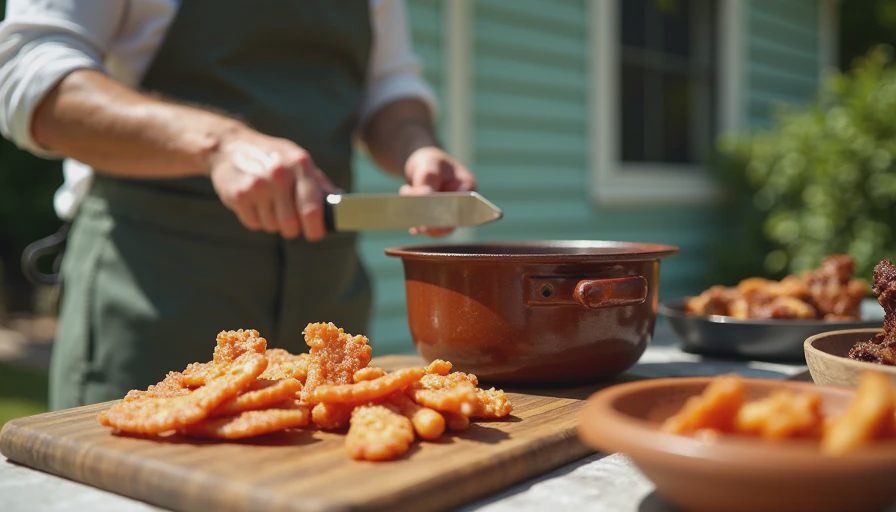
Cut the skin into pieces about 1 1/2 inches square. They shrink substantially, and larger chunks are harder to cook evenly. Pat them dry before seasoning. Water on the surface is what causes the worst popping, so give the pieces a few minutes on a towel while you organize the pot.
How to make cracklins in a heavy pot
The biggest error in how to make cracklins is starting with high heat. Put the pork pieces in the dry pot with the fat side down and set the burner to medium-low. Add 1/4 cup of water. That small amount helps prevent the fat from scorching during the first stage, and it cooks away before the cracklins are finished.
Cover the pot for the first 10 minutes, leaving the lid slightly cracked if steam builds heavily. Once the pieces begin releasing fat, remove the lid and stir every five to seven minutes. The temperature inside the pot will usually settle between 250 and 300 degrees Fahrenheit. You are rendering, not frying yet.
Continue for 45 to 75 minutes, depending on the thickness of the skin. The pieces should shrink, the fat should become clear, and the skin should look tan but still flexible. If the bottom is turning dark while the pieces remain rubbery, lower the heat. If nothing is happening after 15 minutes, move the burner up slightly. A thermometer clipped to the pot is useful, but your eyes and the sound of the fat tell most of the story.
When the cracklins are surrounded by liquid fat and the bubbling slows, remove them with a slotted spoon. Pour the rendered lard through a fine strainer into a heatproof jar if you want to save it. It is excellent for biscuits, cornbread, or frying potatoes. Leave a thin layer of fat in the pot for the second stage.
The crisping stage is where the crunch happens
For the second part of how to make cracklins, raise the heat to medium and let the rendered fat reach about 350 to 375 degrees. Add a small batch of the partially cooked pieces. Do not crowd the pot; six to eight pieces at a time is manageable in a home Dutch oven.
Fry for 5 to 10 minutes, turning occasionally, until the skin puffs and the edges turn deep golden brown. Some pieces will finish before others. Pull those out rather than waiting for every piece to match. This is where I ruined my second batch: I chased one pale chunk and burned the rest. Cook by color and texture, not by a rigid stopwatch.
Transfer each batch to the lined sheet pan. Sprinkle with kosher salt while the surface is still glossy. Add pepper, cayenne, garlic powder, or paprika at this point. Taste one after it cools for a minute. Hot fat dulls your sense of salt, and a piece that tastes perfectly seasoned in the pot can become too salty once cooled.
If the cracklins are crisp outside but chewy in the center, return them to the 325-degree fat for another two or three minutes. If they are tough all the way through, the first rendering stage probably ran too hot or ended too soon. Lower heat and more patience will fix the next batch.
Three problems that usually ruin a batch
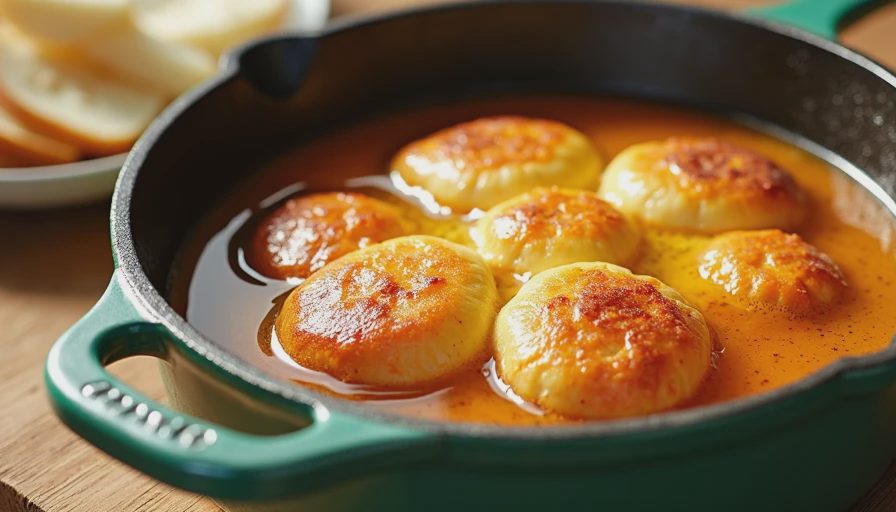
When people ask how to make cracklins, they often want a secret seasoning. Seasoning matters, but texture comes first. Here is what usually went wrong when mine failed.
Greasy cracklins usually came from overcrowding. Too many pieces lower the fat temperature, so the skin absorbs oil instead of crisping. Work in batches and let the fat recover for a minute between them.
Burnt edges with chewy centers usually mean the burner was too hot during rendering. Stir more often and keep the temperature below 300 degrees until most of the water has cooked away.
Hard, tooth-breaking pieces usually started with skin that had almost no fat attached, or they were fried too long. Trim away excessive fat, but leave enough to render and protect the skin. Pull the pieces when they are golden and blistered, not mahogany brown.
Be careful around hot lard. Use long tongs, keep children several steps back, and never pour water into hot fat. If the oil ever smokes heavily, turn off the burner and move the pot only if it is safe to do so.
Seasoning ideas and ways to serve them
The basic salt-and-pepper version is still my favorite, especially alongside pinto beans and sliced onions. For a barbecue plate, toss the finished cracklins with smoked paprika, garlic powder, and a small pinch of cayenne. A Cajun-style blend works too, but taste the label before adding extra salt.
You can crumble them over baked potatoes, greens, mac and cheese, or a bowl of red beans. Chopped cracklins also add a useful salty crunch to cornbread dressing. If you make a large batch, let everything cool completely before storing it in a paper-lined container with the lid slightly loose. Sealing warm cracklins traps steam and softens them.
For the best texture, eat them the same day. They will keep for two or three days at room temperature in a dry, airtight container, but they rarely stay around that long in my house. A quick five-minute warm-up in a 300-degree oven can revive pieces that have lost some crunch.
A simple cooking checklist
The short version of how to make cracklins is straightforward. Start with skin that has some fat attached. Cut it evenly and dry it well. Render it slowly at 250 to 300 degrees with a splash of water. Strain the pieces and save the lard if you like. Crisp small batches at 350 to 375 degrees, then season while hot.
Give the finished pieces a few minutes to cool before judging them. Cracklins firm up as they rest, and that is when the proper snap appears. Once you find the heat level your stove holds steadily, this becomes an easy weekend project rather than a guessing game. My best batches happen while something else is already cooking: beans simmering, cornbread in the oven, and a Longhorns game filling the living room with noise.
That is the whole lesson in how to make cracklins: render slowly, crisp carefully, and do not walk away from the pot. Good smoke. Good sweets. Good people.

No notes yet — write the first one.