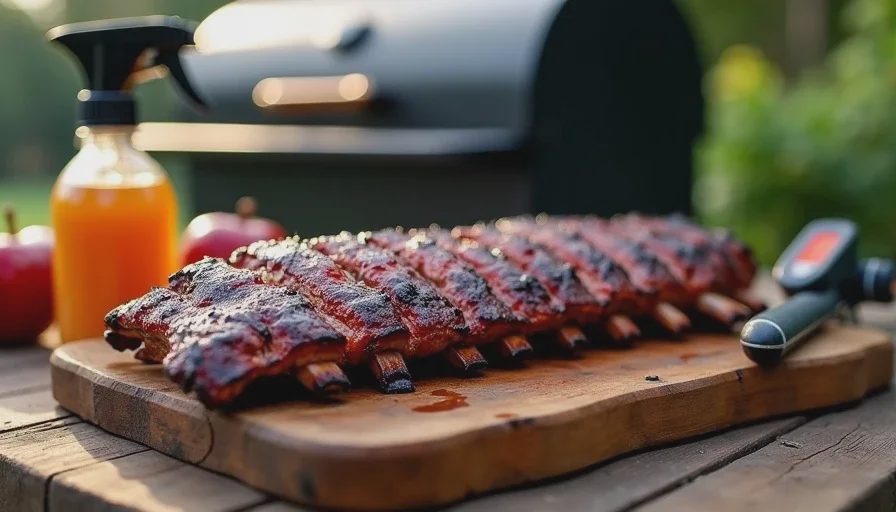
The 3-2-1 method is the most reliable way I've found to cook ribs that actually come out tender on a backyard BBQ setup on a budget, and after three years of drying out racks on Old Hoss before I figured it out, I want to walk you through exactly what each phase does and why the numbers matter. You don't need a $2,000 smoker. You need a steady 225°F, a roll of heavy-duty foil, and the patience to let six hours do what six hours does. Once you understand the framework, you can run it on a kettle grill, an offset, or whatever you've got sitting in your backyard right now.
Why the 3-2-1 Method Works for Home Cooks
The Logic Behind the Numbers
The name tells you the whole story: 3 hours uncovered in the smoke, 2 hours wrapped in foil with a little liquid, 1 hour unwrapped to set the glaze. That's six hours total at 225°F, and every phase has a specific job. Skip one or rush one and you'll taste the difference — I have, more times than I care to admit.
I ran a backyard BBQ setup on a budget for two seasons before I tried this method. I was chasing temperature swings on the offset smoker, opening the lid every twenty minutes, and wondering why my ribs came out either tough or falling apart into mush. The 3-2-1 method gave me a framework that didn't require me to hover over the firebox all day.
What You Actually Need
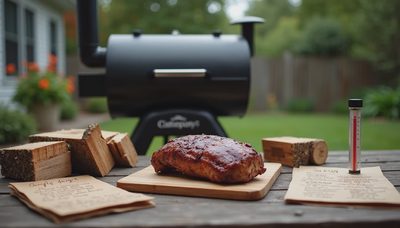
Here's the honest truth about equipment: a charcoal grill with a lid and some foil will get you there. I've run this on Old Hoss — my grandfather's cast-iron offset — and on an $89 kettle grill I bought when Kate said I didn't need another smoker. Both worked. The variable that matters isn't the rig. It's knowing how to keep a smoker fire at 225°F without spiking up to 280 every time you add a coal.
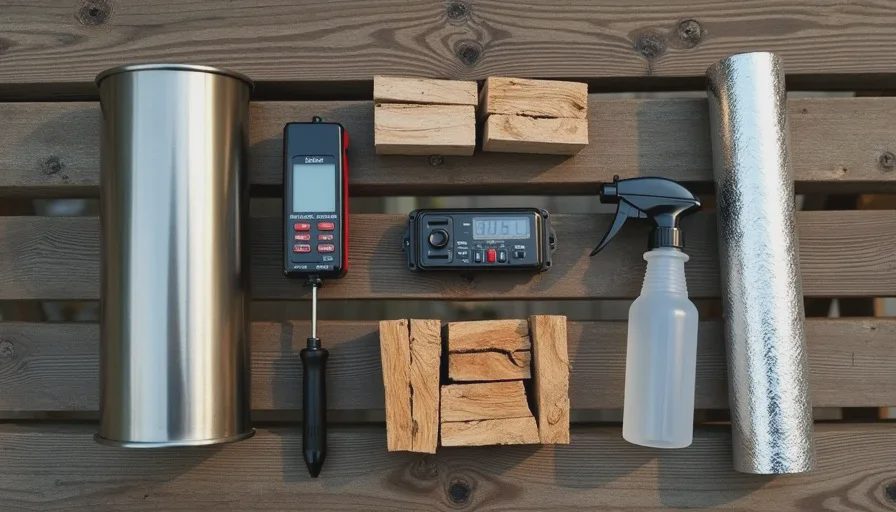
Supply | What I Use | What It Costs |
|---|---|---|
Smoker or grill | Offset smoker or kettle with lid | 400 |
Charcoal | Kingsford blue bag, 1 chimney | $10 |
Wood chunks | Post oak or hickory, 3–4 chunks | $6 |
Heavy-duty foil | 18-inch wide roll | $5 |
Probe thermometer | Two-probe digital (grate + meat) | 50 |
Spray bottle | Plain water or apple juice | $2 |
The Three Phases, Broken Down
Phase 1 — Three Hours Uncovered (The Smoke)
Get your fire settled at 225°F before the ribs go on. This is where most folks mess up — they put cold meat on an unstable fire and spend the first hour chasing temp. I light my chimney at 5:30 AM, dump the coals, add two chunks of post oak, and wait until the grate thermometer reads 225°F and holds steady for ten minutes. If it won't hold, adjust your vents before the meat goes on, not after.
Put the ribs on meat-side up. Close the lid. Walk away. I mean it — don't open it. Every time you crack the lid, you lose 15–20 degrees and add 15 minutes to your cook. June and Sam were out in the yard by 8 AM last Saturday, and I told Sam he could read the thermometer display but not touch the lid. That's the right level of involvement for a seven-year-old.
At the 90-minute mark, give the ribs a light spray with apple juice. This keeps the surface from drying without washing away the bark you're building. At three hours, you should see a dark mahogany color and the edges pulling back from the bones. If the color isn't there yet, give it another 20–30 minutes before wrapping.
Phase 2 — Two Hours Wrapped (The Braise)
This is the phase that saves dry ribs. Pull the rack off, lay it on a sheet of heavy-duty foil, and add your liquid. I use a quarter cup of apple juice and a tablespoon of butter. Wrap it tight — double wrap if your foil is thin. Put it back on the smoker at 225°F.
What happens in those two hours is straightforward: the trapped steam breaks down the connective tissue in the meat. This is where tough becomes tender. The foil creates a humid micro-environment inside your smoker, and the liquid keeps things moist enough that the meat can't dry out even if your temperature wanders a little.
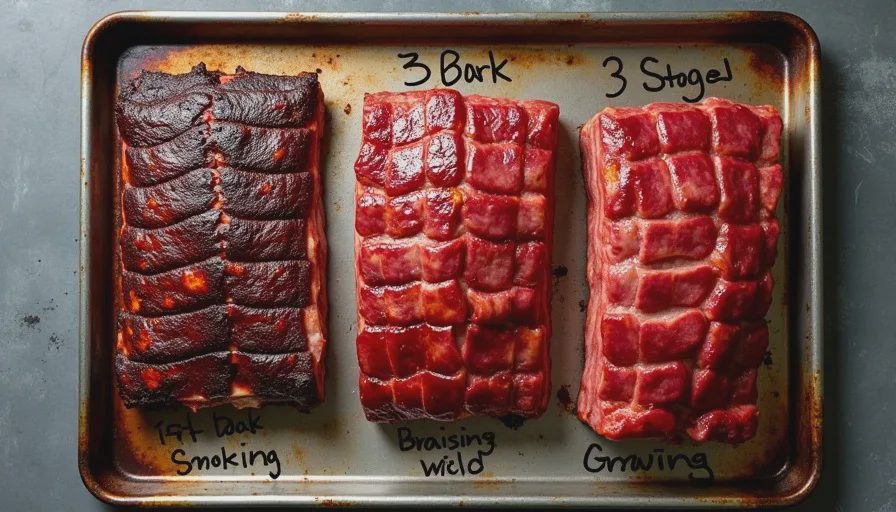
Phase | Time | Temp | What to Look For |
|---|---|---|---|
1 — Smoke (uncovered) | 3 hours | 225°F | Dark bark, edges pulling back, bones visible at tips |
2 — Wrap (in foil) | 2 hours | 225°F | Meat pulls back from bone ends, probe slides in with slight resistance |
3 — Set (unwrapped) | 1 hour | 225°F | Glaze tacky and set, internal temp 200–205°F |
Phase 3 — One Hour Unwrapped (The Set)
Unwrap the ribs and put them back on the grate. If you want sauce, this is when you apply it — the last 30 minutes, brushed on thin. The unwrapped hour lets the surface firm back up and the glaze set. If you skip this phase, your ribs will taste fine but feel mushy, like the texture gave up somewhere inside the foil.
I pulled a rack last month that I forgot to unwrap for the final hour. Kate said they tasted fine. She was being polite. The texture was off — soft in a way ribs shouldn't be. The set phase matters more than people think.
Mistakes I've Made at Every Phase
Phase 1 Mistakes
Running the fire too hot. If you're sitting at 275°F instead of 225°F, you're not doing the 3-2-1 method — you're just cooking ribs fast. They'll dry out before the connective tissue breaks down. Learning how to keep a smoker fire at 225°F is the single skill that changed my cooking more than anything else, and it's the one I still work on every weekend. A leftover brisket from the week before taught me that lesson the hard way — I pulled it at 190°F and it chewed like a boot sole.
Phase 2 Mistakes
Wrapping too loose. If steam escapes, you lose the braise effect and you're just cooking ribs in a foil tent. Fold the edges tight. Also — don't add too much liquid. A quarter cup is plenty. I once poured half a bottle of juice in there and ended up with ribs that tasted like apple cider. June thought they were great. She was nine and would eat anything sweet.
Phase 3 Mistakes
Saucing too early or too thick. Sauce has sugar, and sugar burns at 265°F. If your fire creeps up during the set phase, that sugar will go from caramelized to charred in about five minutes. Thin coat, last 30 minutes, keep one eye on the thermometer.
The Budget Truth
A backyard BBQ setup on a budget doesn't mean cutting corners on technique — it means knowing where to spend and where to save. Spend on a decent probe thermometer. Save on the smoker itself. I've seen guys with $3,000 rigs turn out worse ribs than I make on my kettle grill because they didn't understand the method. The 3-2-1 framework is about time and temperature, not chrome and welds.
Last fall I entered the Luling Watermelon Thump cook-off with ribs cooked on a borrowed kettle because Old Hoss had a cracked firebox. Took second in sauce. The judges didn't ask what I cooked on — they tasted the ribs and that was that.
Good smoke. Good sweets. Good people. That's the whole point of cooking outside on a Saturday — feeding the people who show up. The 3-2-1 method just makes sure what you hand them is worth the wait.
No notes yet — write the first one.